|
How about a fun workout challenge??
How strong are your calves? Not, how large and/or tight and “ripped” do they look, but how *strong* are they *really*? Calf raises. How far forward is your body translating when you raise up onto your toes? Check yourself against a wall (have something to hold onto!) or up to the kitchen counter. Calf raises are a great way to strengthen not just your calves, but also your feet and ankles. There are so many ways to make them more challenging. Usually, people sway forward quite a bit and use the anterior (front) chain rather than the posterior (back) chain to create the movement. Cheater cheater pumpkin eater 🎃 Using the wall takes that cheat away and all you’re left with is foot/ankle, glute, and core strength. A.K.A. being faced with the truth of your back side. The first time I tried these I couldn’t raise up a millimeter without holding on. Seriously. It was a gradual progression (mostly due to inconsistency) but the last couple weeks I have worked in a set at the wall each day and now it’s getting much smoother and I no longer have to hold onto anything. Also, my calves were very unhappy initially. Clearly, I had never used them correctly before. When stationary, you should move basically straight up and down. When walking, calves work in concert with everything else to move you forward. Two different tasks with different demands. Work the isolated strength then move into dynamics and see how much better things feel. Have fun!
1 Comment
Squeeze in your workout Wednesday ! I lovelovelove to stack my habits and my exercise throughout the day. It’s laundry day (wait, with two toddlers isn’t every day laundry day?!) so how about squeezing in some extra squats and hip hinge work?
Next stop on the #glutesofglory train...hip extension!
I tend to spend too much time on the floor with my workouts so this is my attempt at getting up off the floor gradually and working towards standing postures for strength. Here’s to facing fears and getting strong. Bridges are tough for a lot of people because it is so easy to do them wrong, and for me it is a trick and a half to keep my back out of it. Enter: ottoman hip extensions! This video is sped up 4x so take it SLOW, feel the good burn, and really feel your glutes contracting and working here. I am gently activating lower abs and fully relaxing my back and letting the ottoman serve as my solid base. Bent knee takes hamstrings mostly out of the equation so you can focus on glute max. Feel the burn and make sure to breathe throughout this one. Yes, those are skinny jeans, and yes, that is a kid fort in the background :) Bridges! Probably the second most prescribed exercise in physical therapy clinics across the U.S. Second only to clams. So much going wrong with them basically every time I see someone do them. And they are a great exercise for hip extension and building those #glutesofglory so today’s post is a quick tip on using better form.
Feet closer to bum = more glutes, further from bum = more hamstrings. Make sure to get a great 360 inhale first then exhale and use your lower abs to tilt pelvis posterior, pushing low back into the floor. Hold a nice brace at the end of your exhale and inhale again, still maintaining a gentle abdominal brace. On the exhale, tighten your brace slightly and push the ground away from you, contracting those glutes. Remember 1.0: pubis in same plane as lower ribs, and ribs knit down with a nice abdominal brace. Breathing 360 under a brace is a skill and you may need to practice this. A lot. No breath-holding here, please! Remember 2.0: don’t make your back work to create the movement. Keeping good core control will help keep the paraspinals soft so you can focus on using those glutes appropriately. Remember 2.1: breathe throughout the entire exercise. NO BREATH-HOLDING! Try it out and see what you think! Recently, I got to attend a natural movement class from MovNat Madison hosted by Mindful Motion Physical Therapy, here in Madison. It was so much fun! I discovered a fun little hip mobility move...and that crab walking is way harder than it looks!
My left hip is often much tighter but a few reps of these and it was nice and loose! Plus, it is great practice for ground mobility and transitions from sitting to standing, which is very important as we age. Hands free is the goal! Remember, happier hips = happier pelvic floor. Try it out and see how it feels! How did you do?? It’s a special Halloween edition of The Pelvic Underground. I even dressed up for the occasion!
Here’s something scary...tight glutes and pelvic floor! One of my recent favorite self-myofascial release tricks. This one targets pelvic floor from behind and specifically deep hip rotators. It is delicious for getting a femur (the “thigh” bone) that sits too far forward in the socket to rest back and center. Got a tight pelvic floor, hip impingement, or a labral tear? Try this out! First, lie on the floor with knees bent and feel what you feel, particularly how much floor you can feel with your bum. Is one knee higher than the other? If so, do that side first and most. Next, find your midline between #glutesofglory and then feel for your tailbone, place the ball an inch or so above and to the right or left of the tailbone. Don’t rest *on* the bony areas, find flesh. Then rest in that spot, breathe into it and feel yourself #relax into this. It should NOT hurt. Then move across your glutes doing this same thing until you reach the back of your “hip bone” (posterior portion of the greater trochanter). Remove the ball and now see how it feels. How much more floor can you feel? Does it feel like a wide open space now? That’s your femur resting into position 😎 Are your knees level now? Excellent! Happy (belated) Halloween! 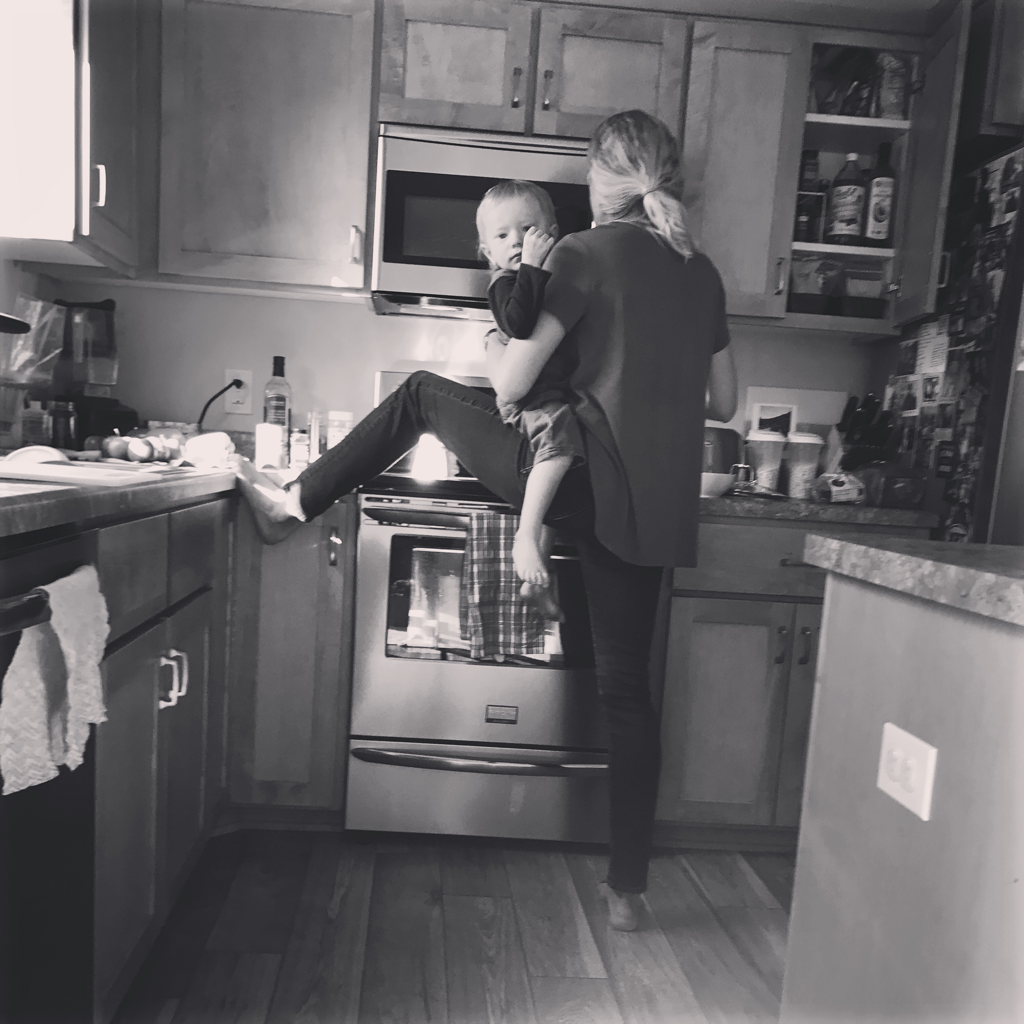 Sometimes (a lot of the time) this is parenthood and you do what works . My arm was tired. I stir with my right and don’t want to exacerbate a muscle imbalance I have worked hard to re-balance since becoming a mom so I kick up a leg and my cute toddler can rest on my thigh and my arm gets a rest. Bonus: I can work on relaxing my hip flexors, engaging my #glutesofglory , core stability, and breathing into my glutes to get them to lengthen on the left.
Of my two kids, he is more of a Velcro baby still, and he loves to watch me cook. So it shall be 😎 {Last night’s dinner was a vegan Moroccan carrot red lentil soup. So yummy, so chunky, so easy.} When you are growing some #glutesofglory they sometimes need us to show them some myofascial release love.
Here is an easy one you can do without having to flop around on the floor or get awkward with a foam roller. But that is fun, too! Grab ye a small ball. I have a tennis ball and a racket ball that is slightly smaller and less squishy. Lean against the wall with the ball placed in the glute area. Roll around until you find some hot spots and hang out there some and see what you can work out. Breathe into the really sticky spots. Make sure to also spend some time in the gluteus medius which is along the upper rim of the pelvis. Stay OFF of the outside of your hip (greater trochanter). That’s a no-fly zone due to the feisty bursa there. After 30-60 seconds on each side, jump into your glute strengthening and you’ll reap much greater rewards. What you release, you must then teach. Otherwise you’ll just keep losing the gains. And remember...your glutes ARE your pelvic floor and vice versa. Have fun! |
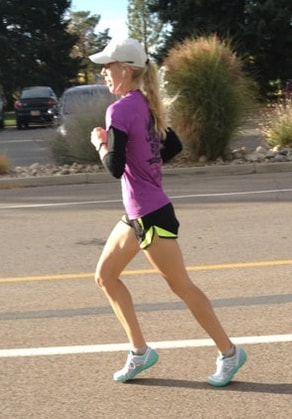
PaigeRunner, lifter of children, PTA, CPT, PCES, pelvic health zealot Archives
August 2020
Categories
All
Archives
August 2020
|
 RSS Feed
